Guide to Fish Cleaning with Eric Newman
Captain Eric Newman is a seasoned angler and a Louisiana native with fine-dining kitchen experience. Bringing together his knowledge of the water and the galley, he provides incredible service to his customers at Journey South Outfitters. In the video below, Captain Newman shares his method to fillet and break down a fish.
Steps to Fillet a Fish
Step 1: Cut from the Fish's Head
Before cutting, consider grabbing a pair of fishing gloves to protect your hands from sharp fins. Starting at the fish’s head, make a vertical cut behind the skull and gills to remove all the meat from above the head. When you cut down the side of your fish, Capt. Eric recommends avoiding the belly in the rib cage area because it will get removed separately later.
Step 2: Separate the Skin
Next, you want to score the skin from the bottom and top of the fish. Start on one side of the fish and separate the skin from the fins. Some fish have a crease right by their dorsal fin that you can easily fit your knife into and cut right along. Cut to the bone to ensure you don’t waste any of your fish by leaving it behind. Once you have finished these cuts on one side of your fish, do the same thing on the other.
Before you remove the first side of your fish, Capt. Eric recommends finishing filleting your fish on the other side, so you don’t end up with a lopsided fish. Otherwise, removing one side of the fish before cutting the second makes it harder to fillet the second side.

Step 3: Remove the Fillet
With your fish scored and cut on both sides, now you can remove the fillet from the first side. Start by creating your tail cut, and as you lift the fillet, use your knife to separate it from the fish’s body. After removing the fillet, lay it skin side down to keep it as clean as possible. Especially if you’re using a public fish cleaning station, it’s important to ensure your fillet doesn’t touch the table to keep it as clean as possible. Repeat this on the second side and keep it off dirty surfaces to limit bacteria growth.
Step 4: Separate the Collar
Next, you will take the whole throat out of your fish along with part of the belly. At this step, Capt. Eric likes to switch to an 8-inch fillet knife because it’s shorter and provides more stiffness, making it easier to separate the collar. When you start to separate the collar cut alongside the fish’s collarbone behind the gills, there is a joint that is a great spot to cut so the collar easily disconnects. For example, red snappers have a pronounced joint that makes it easy to separate the collar. After clearing one side of the throat, roll your fish over and complete the same process on the other side.
Step 5: Remove the Cheek
Removing the cheek is the last thing Capt. Eric takes out of larger fish, like snapper. Make a circular cut around the cheek using a small and flexible knife. After completing that, you can cut the knife deeper to remove and skin the cheek precisely. Now, you’re left with a super flavorful and tender piece of fish.
Step 6: Break Down the Fillets
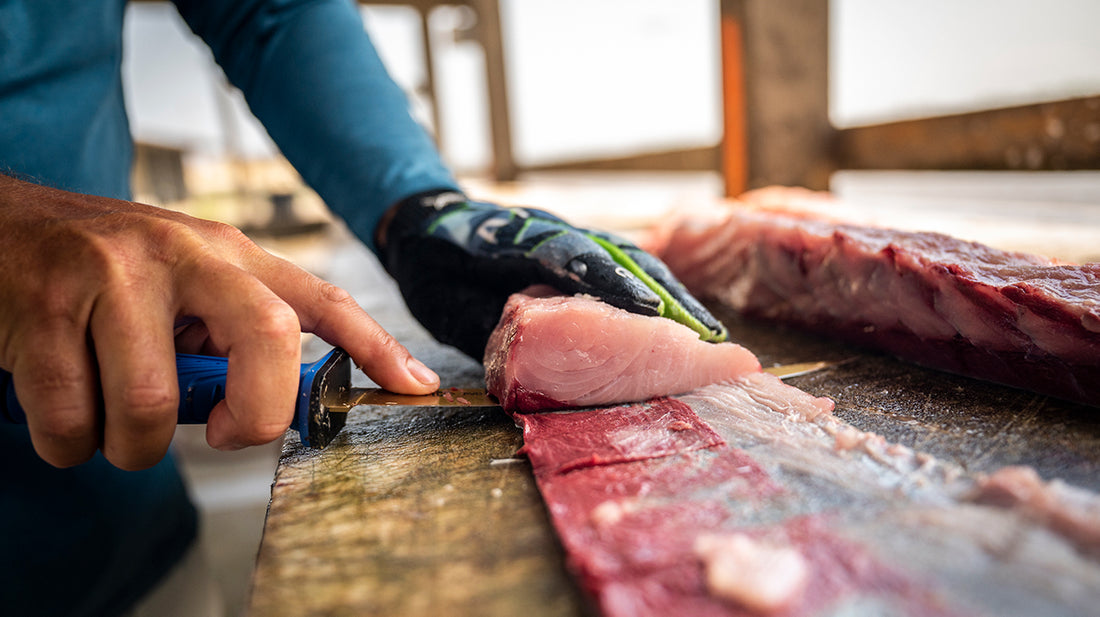
To make it easier to cook your fish, Capt. Eric recommends breaking it down into fillets. At this stage, you can cut your fish however you want. You can make sashimi cuts, belly cuts, steaks, or whatever you prefer. Capt. Eric broke his fish down into two top loins, two bottom loins, two rib cuts, two cheeks, and one collar. Regardless of how you prefer to cut your catch, don’t let any of it go to waste.


Tips For Selecting a Fillet Knife
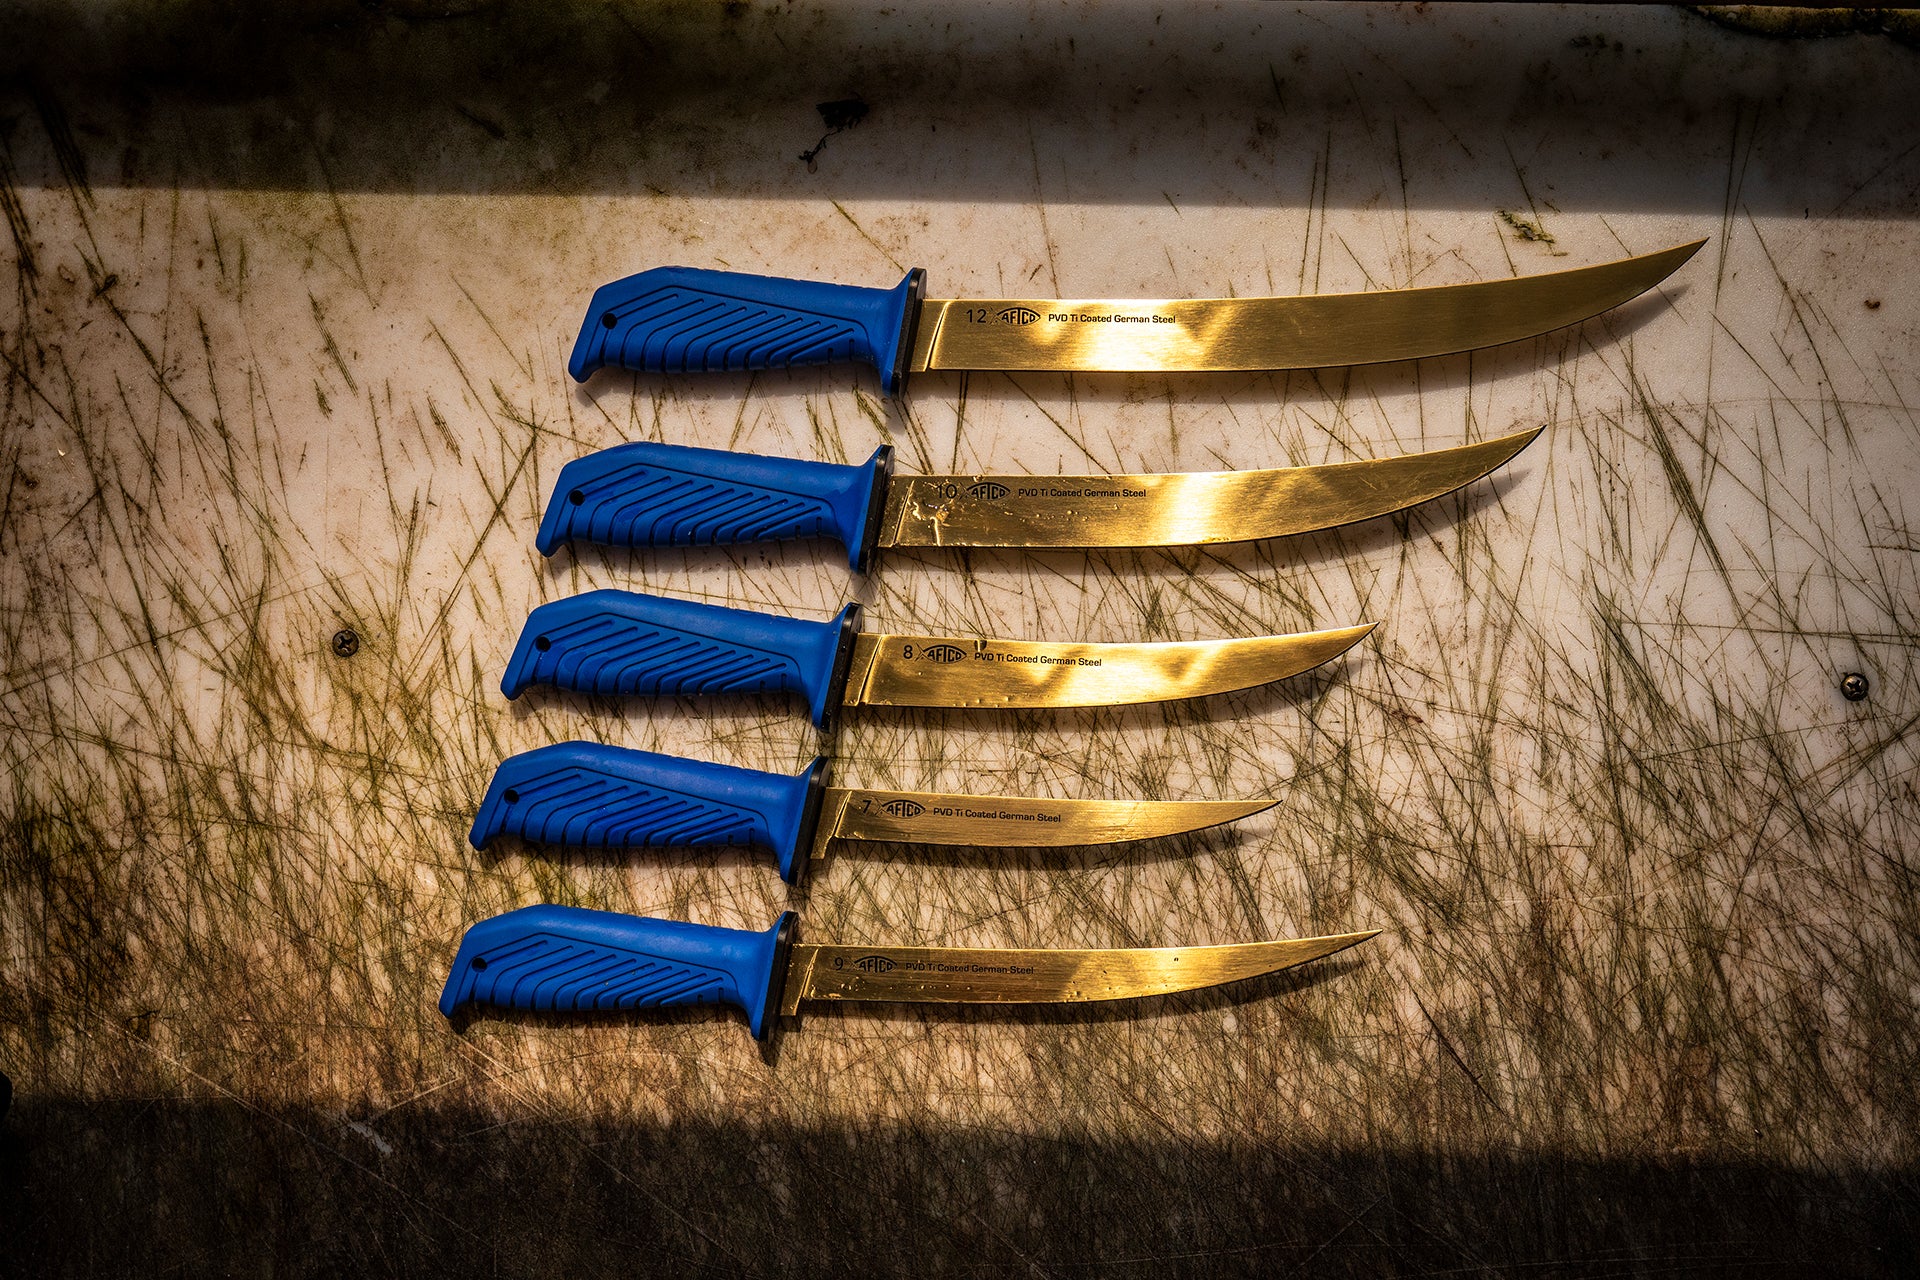
To clean his fish, Capt. Eric used several different knives. Each knife serves a specific purpose, and it’s always best to have more options on hand to give you the highest quality cuts of fish. Smaller, flexible knives are best for cutting the cheek; an 8-inch breaking knife makes it easier to cut through bones, and a 9-inch flex is perfect for fillets. For all your knife and fish cleaning needs, check out the selection of AFTCO Fillet knives so you’re equipped to break down and enjoy your next catch.


